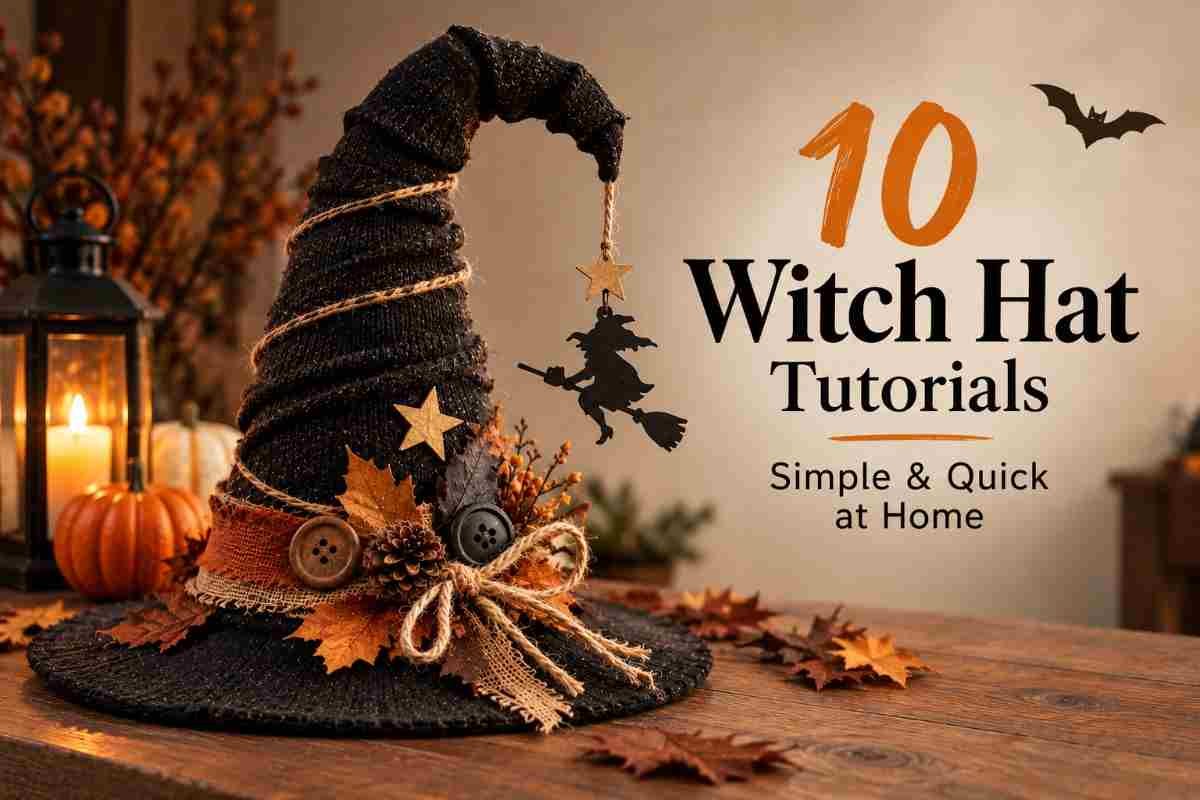
Create spooky Halloween decor without spending much on supplies. These 10 Witch Hat Tutorials Simple and Quick at Home use everyday materials like cardboard, newspaper, old fabric, paper plates, sweaters, socks, twine, leaves, and craft scraps. From glowing hanging witch hats to pumpkin-inspired designs, haunted village hats, door hangers, and cozy fabric hats, each project has a different look and is easy to make at home. Some ideas are also great for Halloween crafts for kids, with adult help for cutting and gluing. Use these handmade witch hats on your mantel, shelf, front door, dining table, entryway, or Halloween party setup.
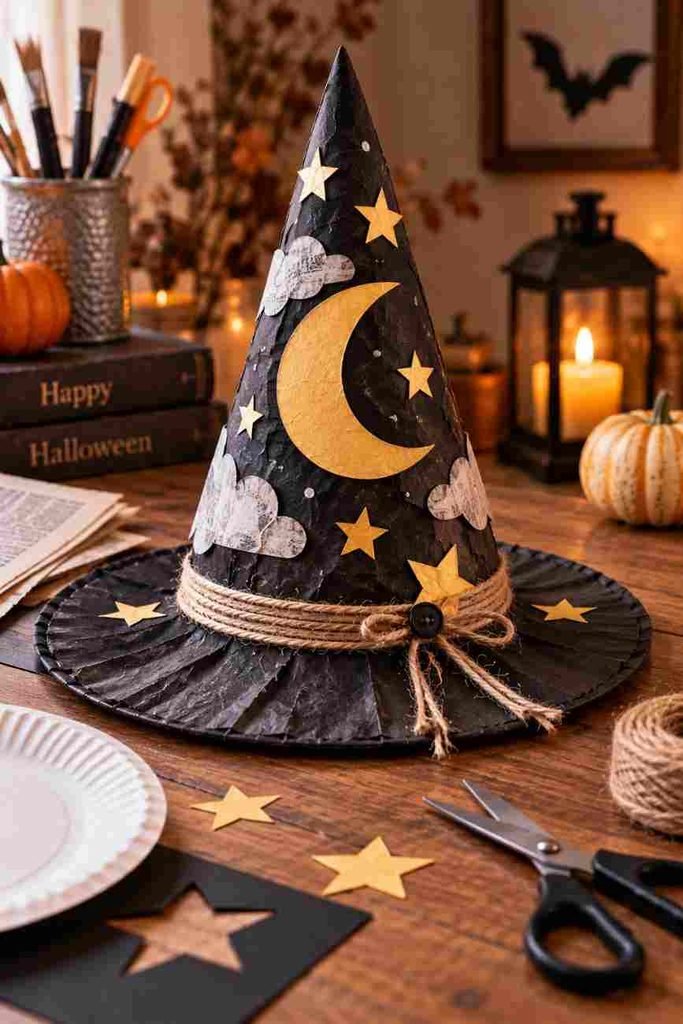
1. Paper Plate Moon Witch Hat 🌙
This Witch Hat Tutorial Simple and Quick at Home uses a paper plate, old newspaper, and craft paper to create a lightweight moon-and-stars witch hat. Make the cone from newspaper, attach the paper-plate brim, and decorate it with simple moon and star shapes.
Kids can help cut the decorations and choose the colors. Use black, cream, olive, and amber accents for a modern Halloween look.
2. Floating Witch Hat Lantern 🎃
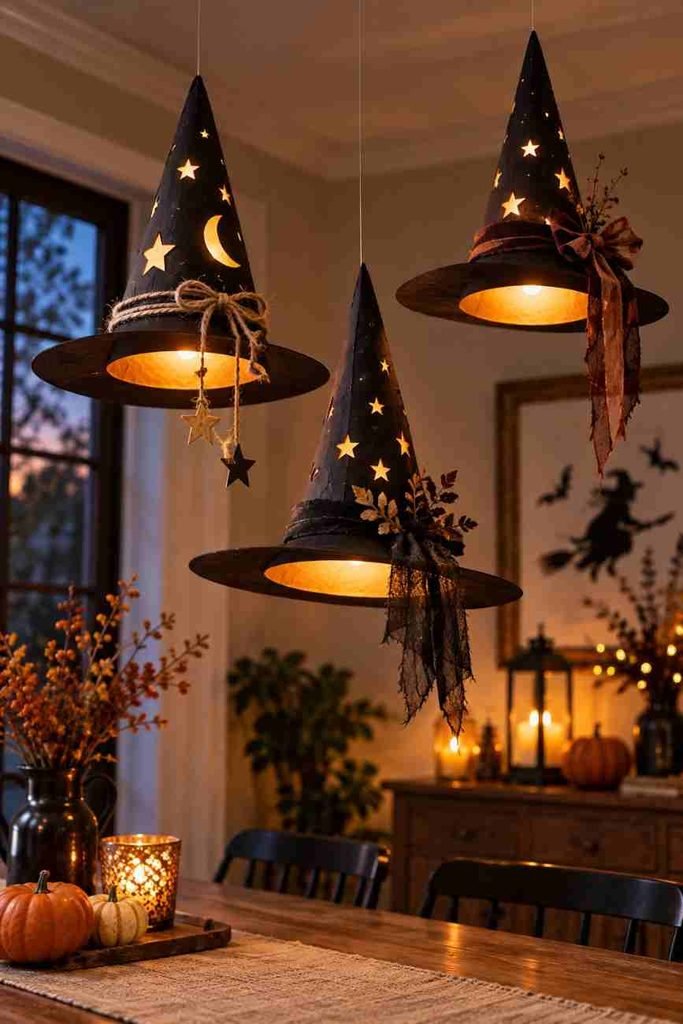
Try this Witch Hat Tutorial Simple and Quick at Home to create glowing witch hats using black cardstock, string, and small battery-powered LED lights. Make lightweight hats and hang them at different heights.
Place the LED light underneath each brim so the light shines downward. This creates an eye-catching Halloween display without complicated materials or electrical work.
Best for: Halloween home decor, entryway decor, party decoration.
3. Newspaper Witch Hat With Autumn Leaves 🍂
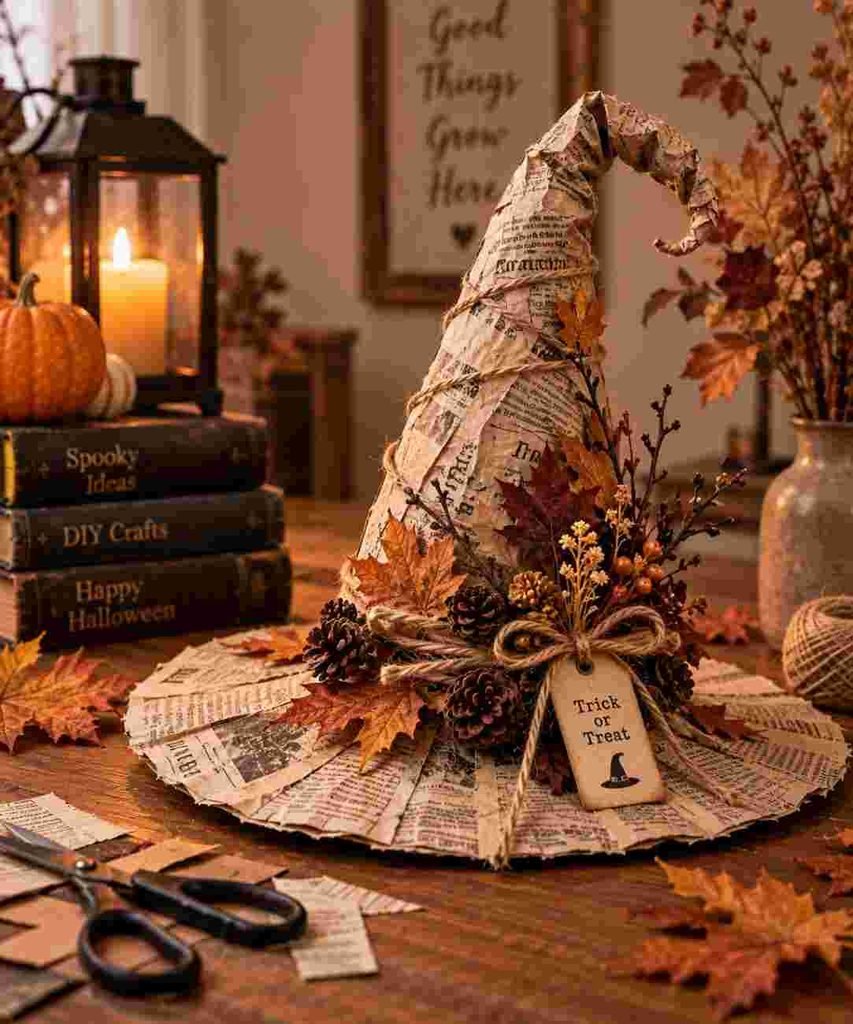
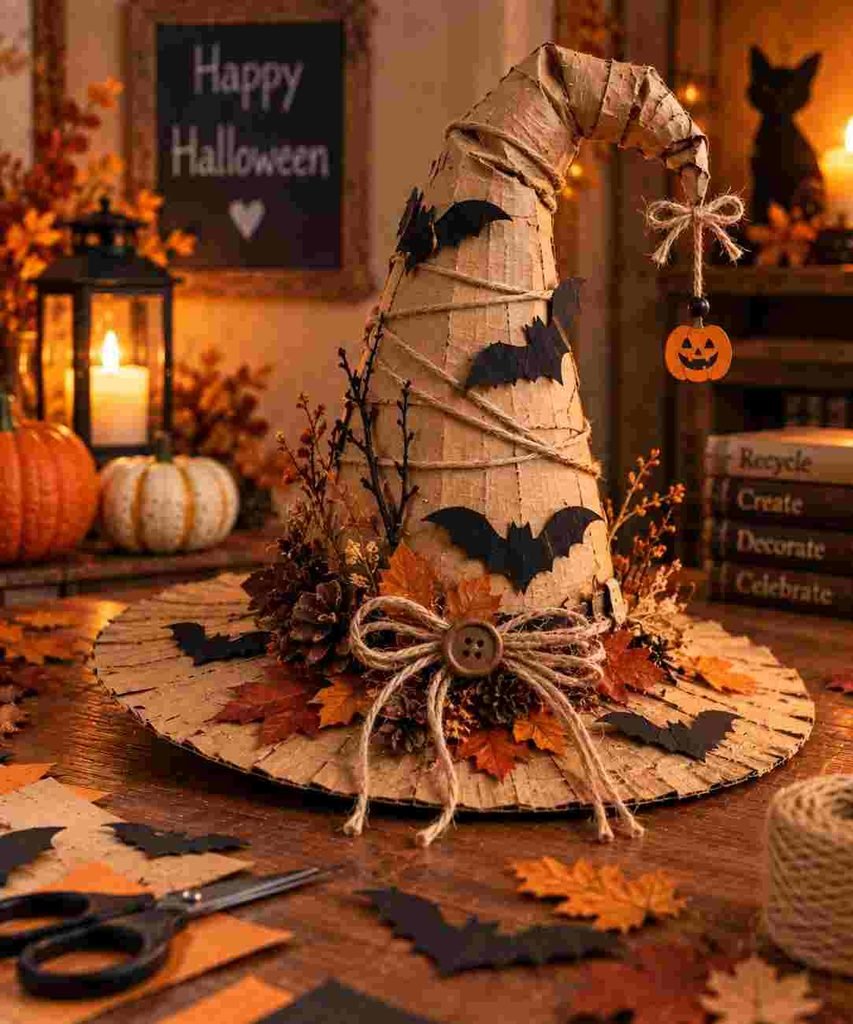
This Witch Hat Tutorial Simple and Quick at Home turns old newspapers and brown paper into a rustic Halloween decoration. Roll newspaper into a cone, create a wide brim, then add dried leaves, twigs, pinecones, and jute.
You can leave the natural paper texture visible instead of painting the entire hat. It gives the finished craft a handmade autumn feel.
Best for: Halloween mantel decor, shelf decor, console tables.
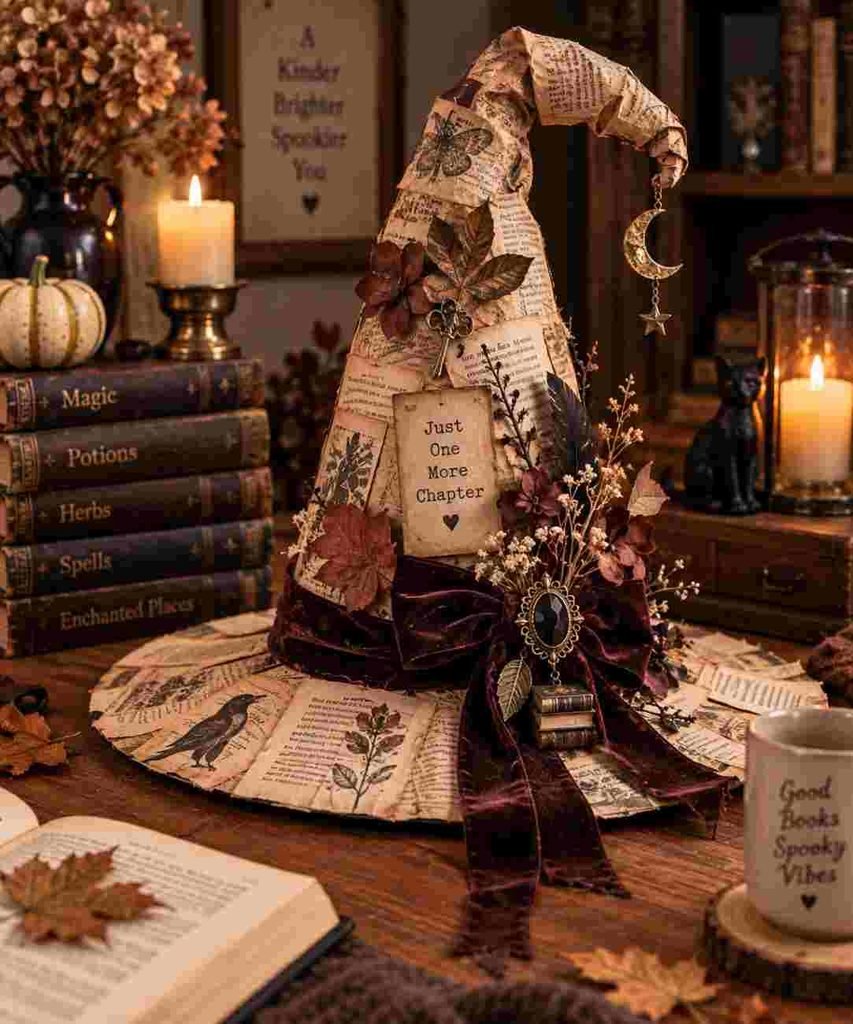
4. Dark Academia Book Witch Hat 📚
Use this Witch Hat Tutorial Simple and Quick at Home to create a vintage-inspired witch hat from cardboard, old book pages, brown paper, and leftover ribbon.
Add dried leaves or small paper details around the brim. Place the finished hat on a stack of old books with an LED candle nearby for a cozy dark-academia Halloween display.
Best for: Witchcore decor, bookshelf styling, study decor.
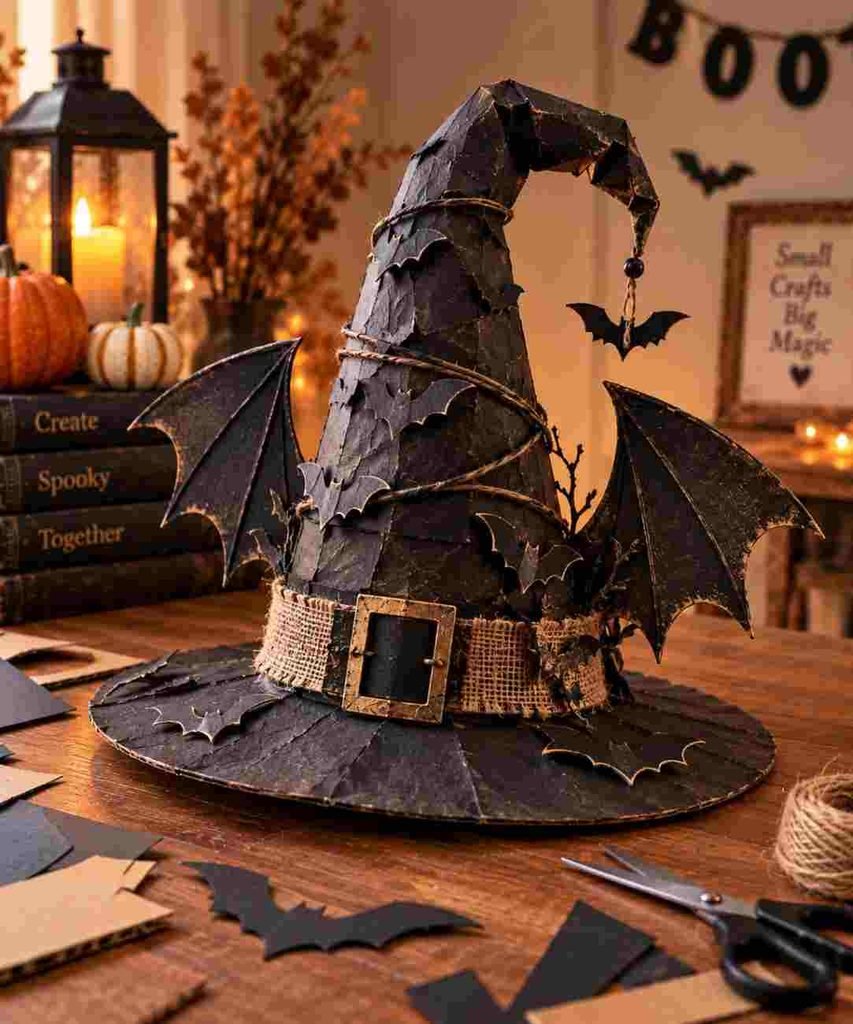
5. Cardboard Bat Wing Witch Hat 🦇
This Witch Hat Tutorial Simple and Quick at Home gives an old cereal box a spooky new purpose. Cut the cardboard into a cone and brim, then make two simple bat wings from leftover cardboard.
Cover the pieces with black paper and add small paper bats around the brim. Children can help with the decorating while an adult handles cutting thicker cardboard.
Best for: Halloween crafts for kids, spooky Halloween decor, party tables.
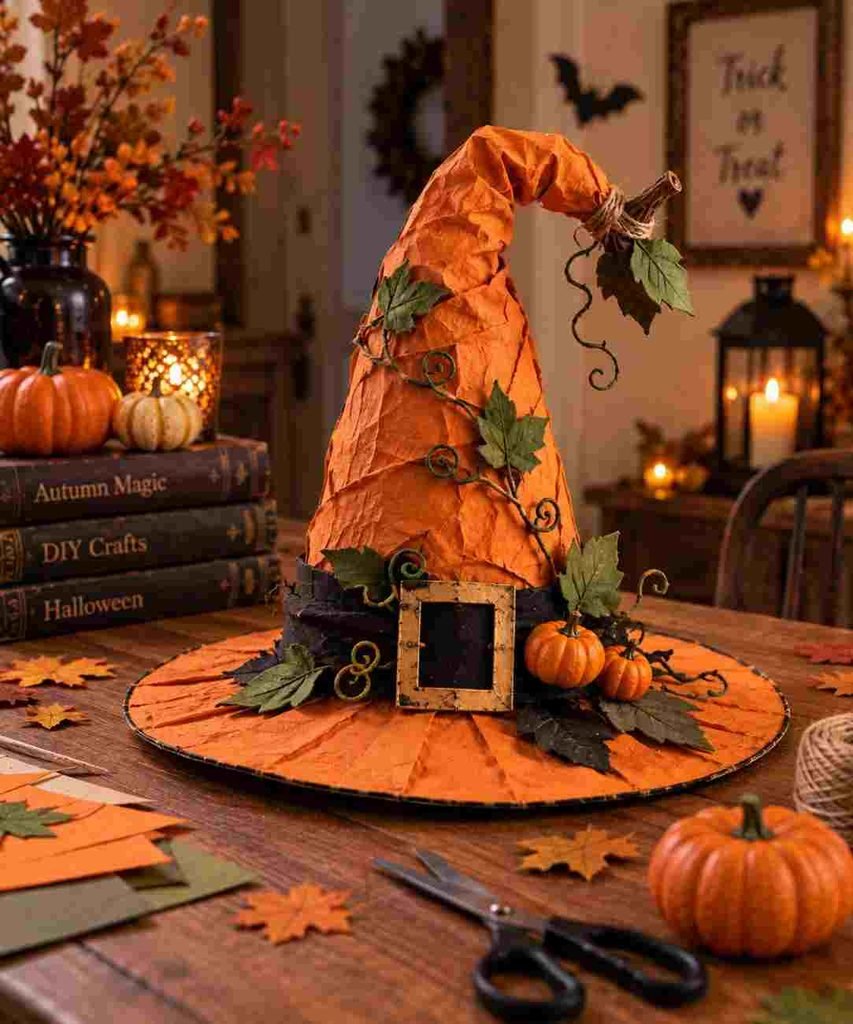
6. Pumpkin-Tip Witch Hat 🎃
Try this creative Witch Hat Tutorial Simple and Quick at Home by combining a witch hat with a tiny pumpkin. Make the cone from cardboard and cover it with orange paper or leftover fabric.
Shape the top into a small pumpkin stem and add green paper leaves around the base. A black band around the hat keeps the Halloween look clear.
Best for: Halloween decorating ideas, mantel decor, seasonal shelves.
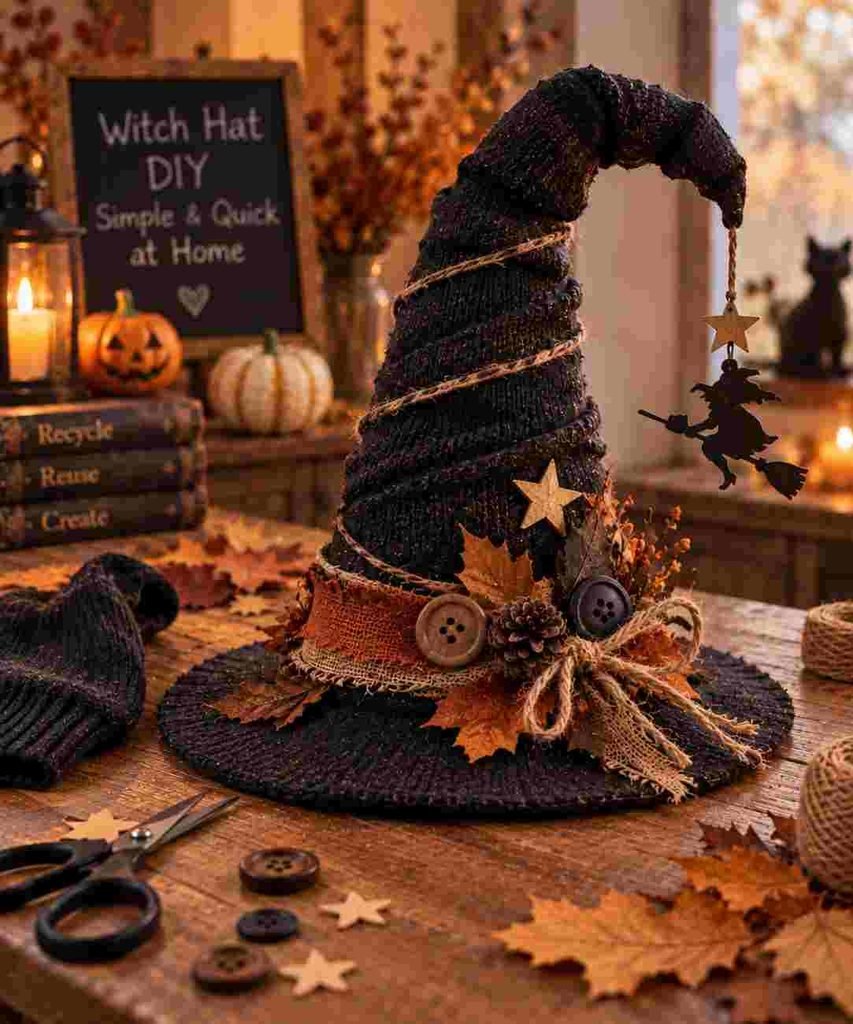
7. Sock and Sweater Witch Hat 🧶
This Witch Hat Tutorial Simple and Quick at Home reuses an old black sock, sweater sleeve, or fabric scrap. Wrap the fabric around a simple cardboard cone and secure it with glue or twine.
Add buttons, dried leaves, paper stars, or leftover ribbon. The soft fabric gives the hat a different texture from ordinary paper crafts.
Best for: Recycled Halloween crafts, handmade Halloween decorations, witchcore decor.
8. Witch Hat Door Hanger 🚪
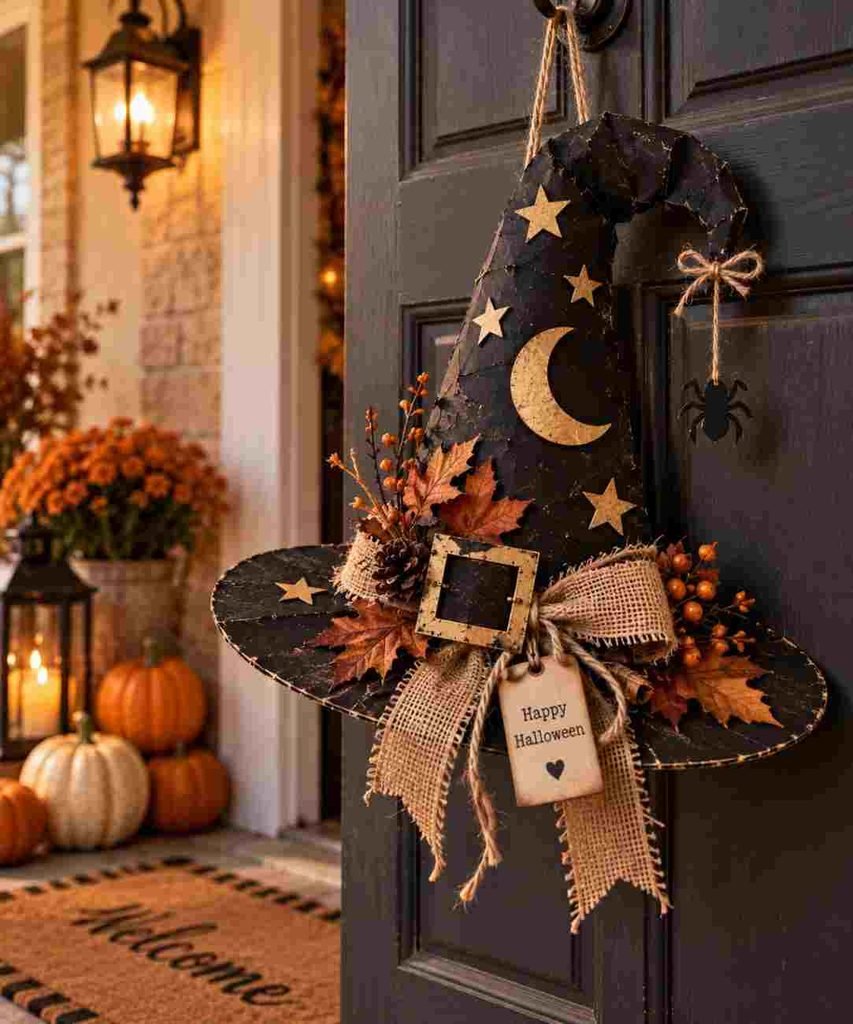
Make a lightweight Witch Hat Tutorial Simple and Quick at Home using an old cereal box, wrapping paper, and craft scraps. Create a cone and wide brim, then add a large paper buckle and a few stars or leaves.
Attach a loop at the top so the finished hat can hang on a door. Keep it lightweight so it is easy to display and remove after Halloween.
Best for: Halloween front door decor, Halloween entryway decor, DIY Halloween decor.
9. Haunted House Witch Hat 🏚️
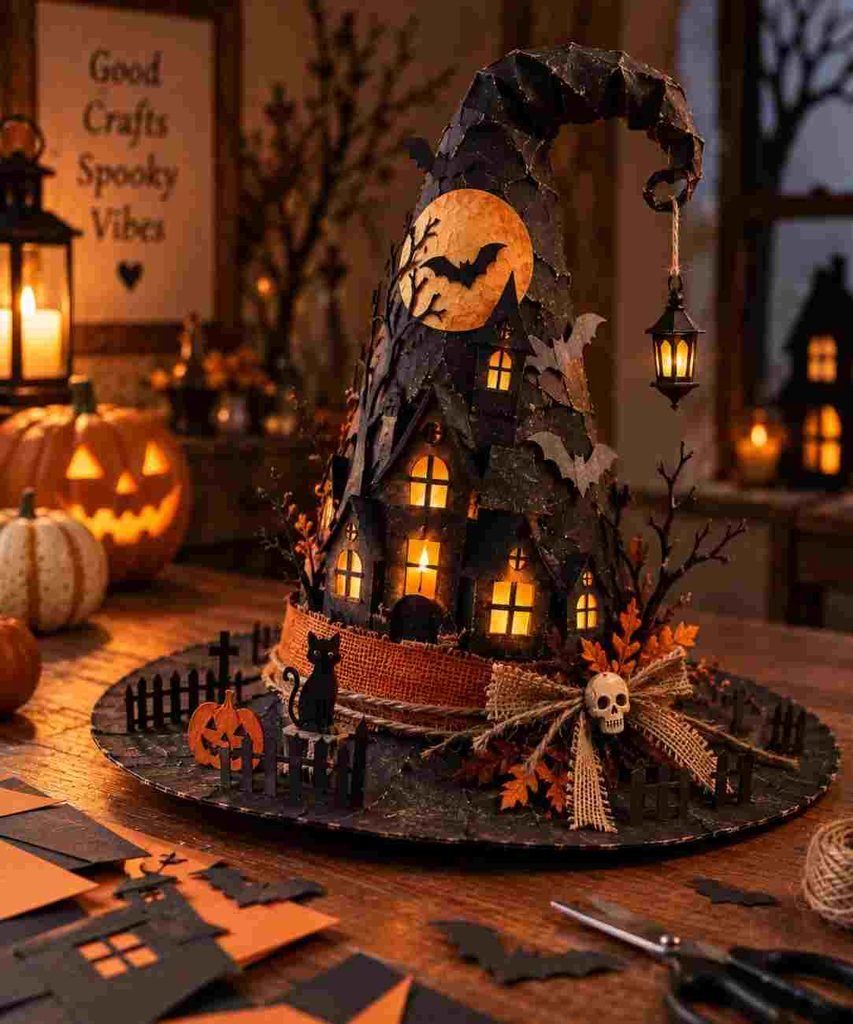
This Witch Hat Tutorial Simple and Quick at Home turns an ordinary paper hat into a tiny haunted village. Cut small windows, doors, crooked trees, and bats from black and orange paper.
Place a battery-powered LED inside the hat. When the light comes on, the tiny windows glow and create a miniature haunted-house effect.
Best for: Spooky Halloween decor, Halloween mantel decor, Halloween shelf decor.
10. Paper Bag Witch Hat Family Craft 👻
Make this Witch Hat Tutorial Simple and Quick at Home using brown grocery bags, newspaper, glue, and leftover craft paper. Create a slightly crumpled hat and let each child decorate it differently.
Add paper ghosts, moons, stars, spiders, or funny Halloween faces. The handmade imperfections make every hat unique and keep the project simple enough for a family craft session.
Best for: Halloween crafts for kids, quick Halloween crafts, Halloween party decor.
You do not need expensive craft supplies to make creative Halloween decorations. These Witch Hat Tutorial Simple and Quick at Home ideas show how cardboard, old newspapers, fabric scraps, socks, sweaters, paper, twine, leaves, and other everyday materials can become fun seasonal decor.
Try one design for your mantel, shelf, front door, or entryway, or make a few different styles for a complete Halloween display. Kids can also join in with decorating, cutting simple paper shapes, and adding their own spooky details with adult supervision.
Choose your favorite DIY witch hat, gather a few things from around the house, and start crafting your handmade Halloween decor. 🎃🧙♀️